
Guide hosted courtesy of Hyperdyne Labs
Here are quick links to each section (in order of assembly):
Section A) - Cutting the extension
Section B) - Routing out the screen area
Section C) - Creating and installing the washer
Section D) - Mounting the Hama viewer hardware
Section E) - Installing the rotary switch
Section F) - Gutting the Vivitar flash unit
Section G) - Finishing the bottom side of the Hama viewer
Section H) - Mounting the top side of the Hama viewer
Section I) - Mounting the self timer
Section J) - Mounting the Jobo mini light
Section K) - Mounting the Hama remote release
Section L) - Mounting the self timer box
Section M) - Installing the sling swivels
Section O) - Mounting the transformer
Section P) - Mounting side panels
Section Q) - Installing pump widget
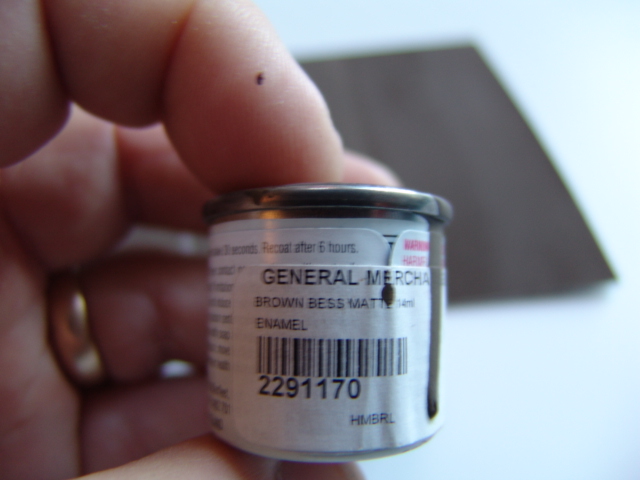
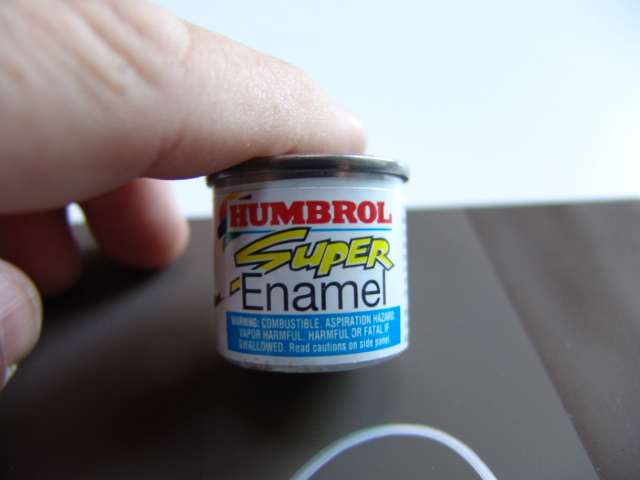
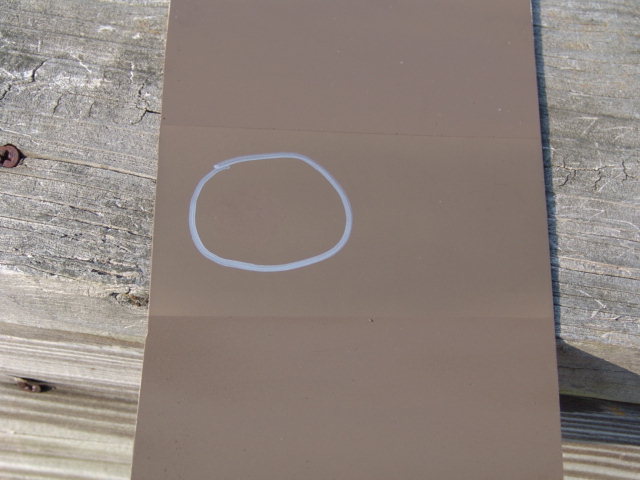
Now that you have the tracker done, you can disassemble it and begin the painting process. The original tracker was painted using Humbrol Bess Brown colored enamel. This paint is harder to find but is available. They only come in small tins too. The enamel finish turns out kind of "wet", where hand prints tend to show up. You can also get a matched spray paint in Bess Brown that makes the job easier. This paint was automotive custom mixed so it is durable and does not come off. Contact us for more information.
Here is a pic of the original Bess Brown tin
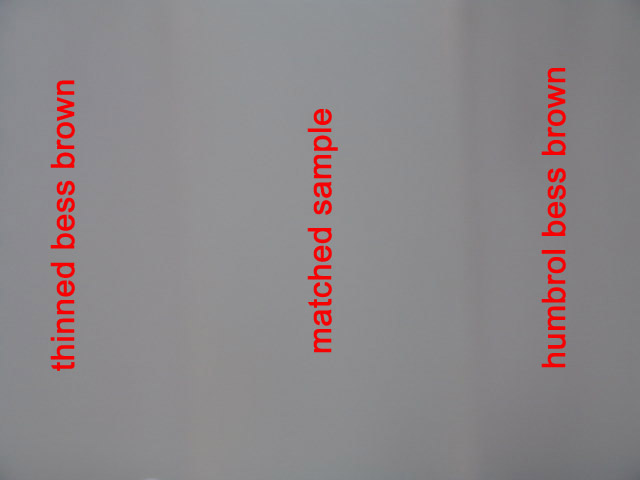
You should first prime all your drill case pieces with a sandable primer. We recommend the Plasti-kote sandable primer (gray or black). Prime the case pieces and then wet sand the finish with 400-600 grit sandpaper. Repeat until you have a very smooth finish. Next paint the pieces with the color/brand of paint you wish to use. A durable black paint to use is the barbeque/grill high heat spray paint (krylon or other) found in many stores. If you are airbrushing with Humbrol Bess Brown, beware that the amount of thinning you use will affect the final color shading.
Here is a comparison of different paints along with the custom-mixed Bess Brown spray paint used on this tracker replica.
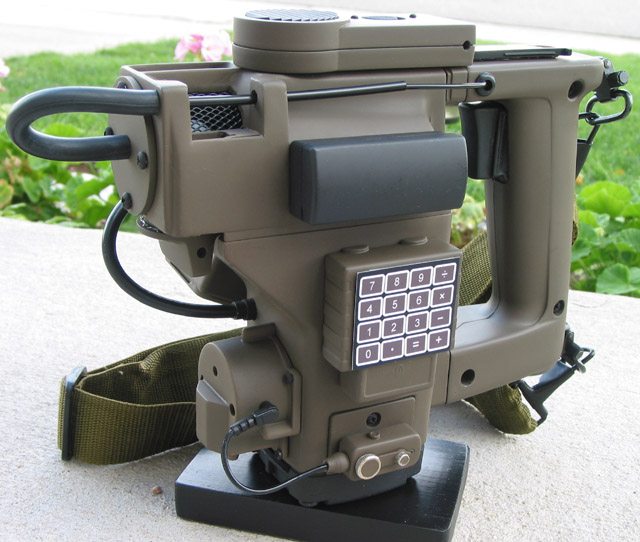
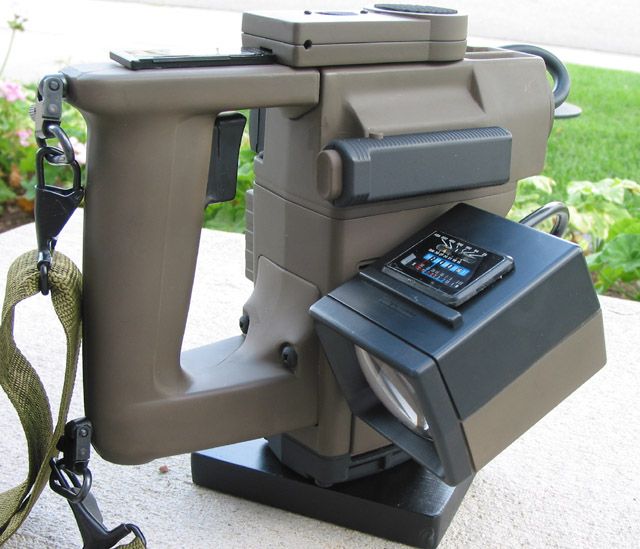
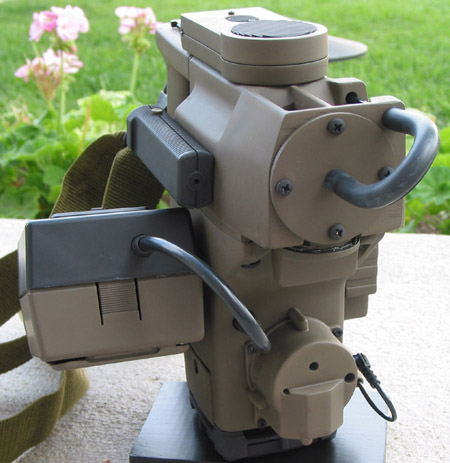
After painting all the pieces, you can reassemble the unit. Having used screws for all the parts makes it much easier to reassemble. Here is a painted and reassembled tracker (prop courtesy J. Shima) using the above custom-mixed Bess Brown spray paint from a can.
Congratulations, you are DONE!! Enjoy your well-earned prop.
If you are planning on installing electronics, we also have a guide on how to fit our kit into your tracker.
Pictures © 2004 Stephan Dörger
Do not use without proper permission
Assembly guide created by S. Dörger and J. Shima
Aliens is a trademark of 20th Century Fox