
Guide hosted courtesy of Hyperdyne Labs
Here are quick links to each section (in order of assembly):
Section A) - Cutting the extension
Section B) - Routing out the screen area
Section C) - Creating and installing the washer
Section D) - Mounting the Hama viewer hardware
Section E) - Installing the rotary switch
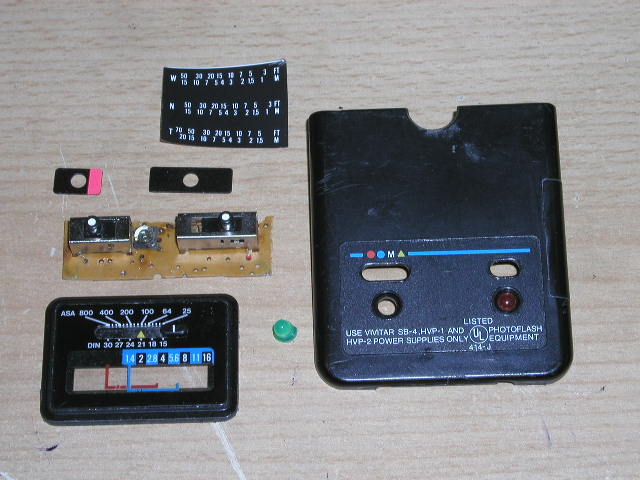
Section F) - Gutting the Vivitar flash unit
Section G) - Finishing the bottom side of the Hama viewer
Section H) - Mounting the top side of the Hama viewer
Section I) - Mounting the self timer
Section J) - Mounting the Jobo mini light
Section K) - Mounting the Hama remote release
Section L) - Mounting the self timer box
Section M) - Installing the sling swivels
Section O) - Mounting the transformer
Section P) - Mounting side panels
Section Q) - Installing pump widget
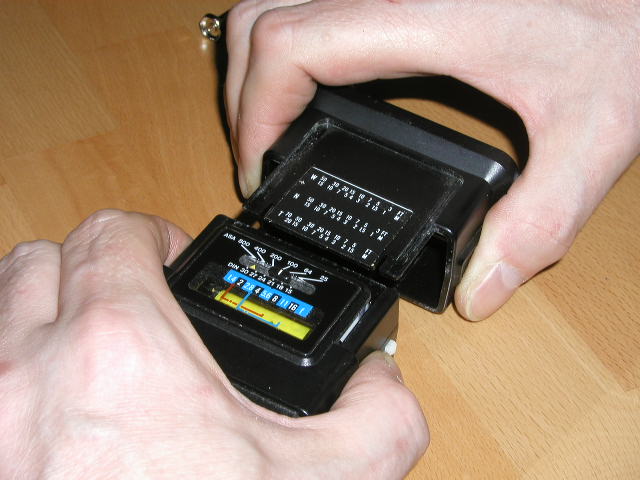
The Vivitar 2500 zoom flash unit was used on the MT for accent parts. You can find these flash units on ebay for about $5-$20. You will need several pieces off the unit, plus you will scavenge the LEDs and switches off the flash and mount them on the Hama viewer. This section is long and picture intensive!!
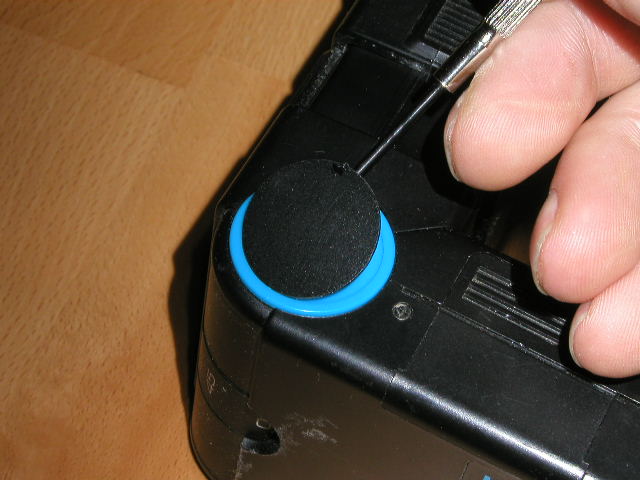
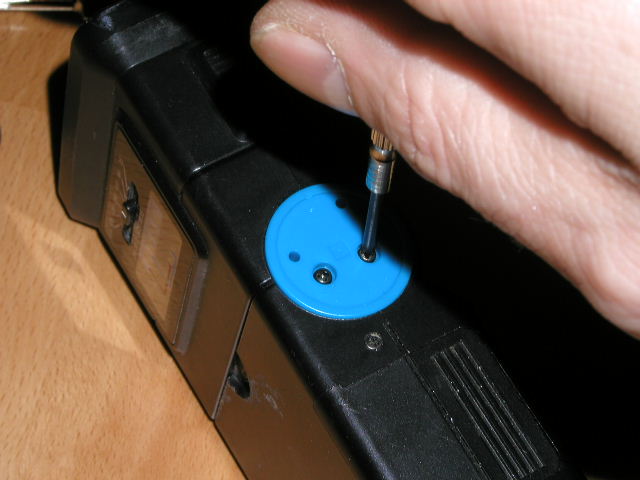
First remove the cover from the blue hinges and unscrew them
Now pull the 2 pieces apart
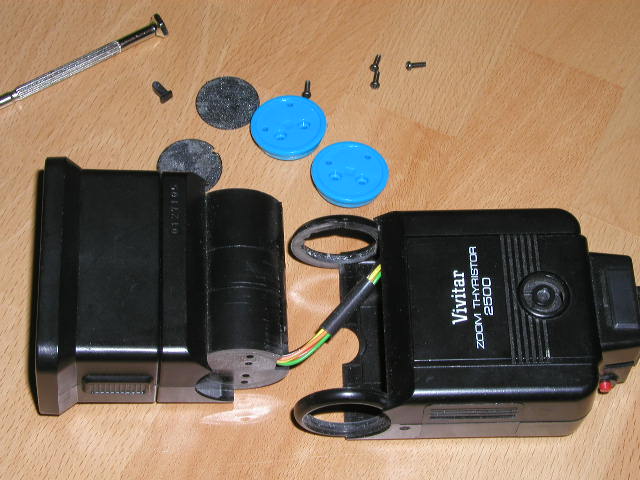
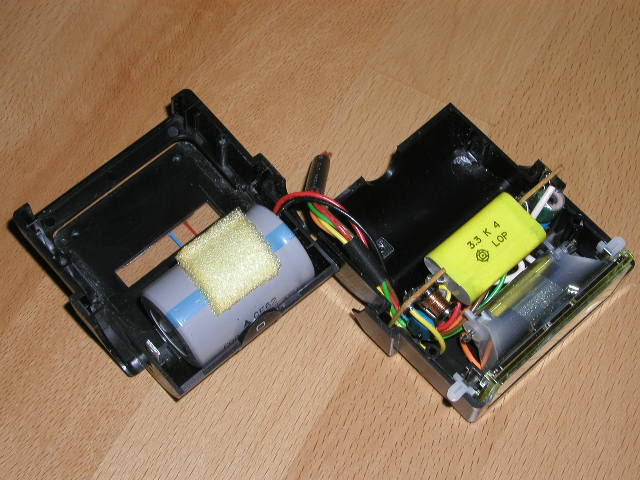
Remove the 2 screws from the plastic piece with the lock text on it
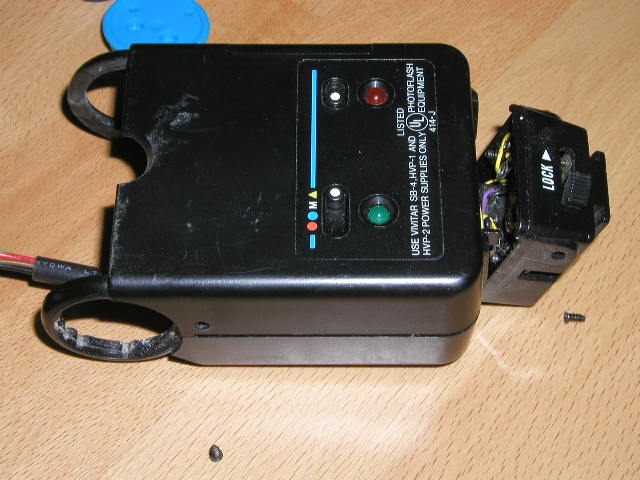
Remove the 2 screws next to each hinge ring and disassemble the guts
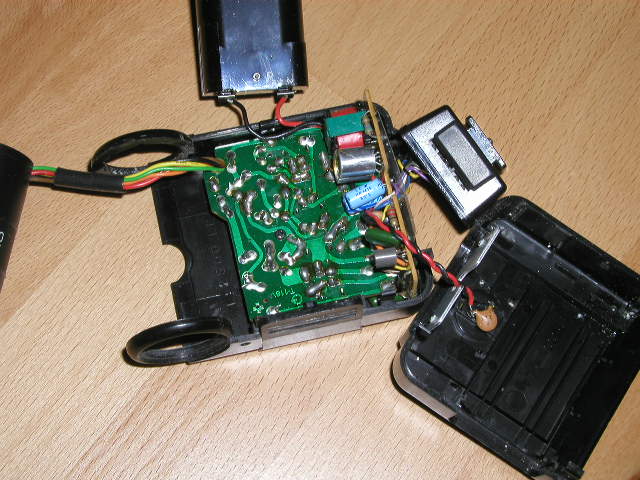
Unscrew the circuit board and remove it
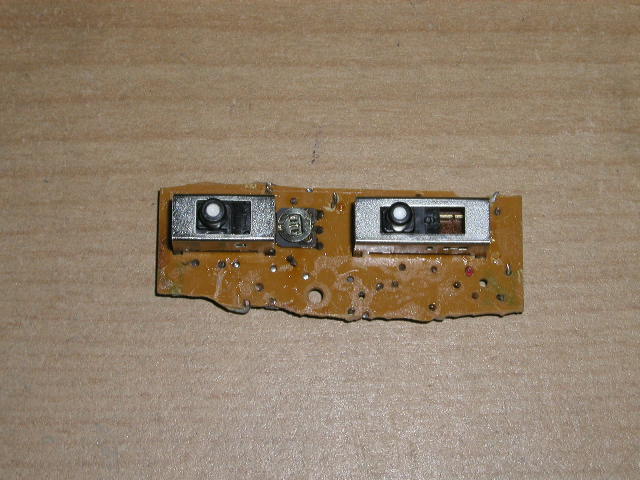
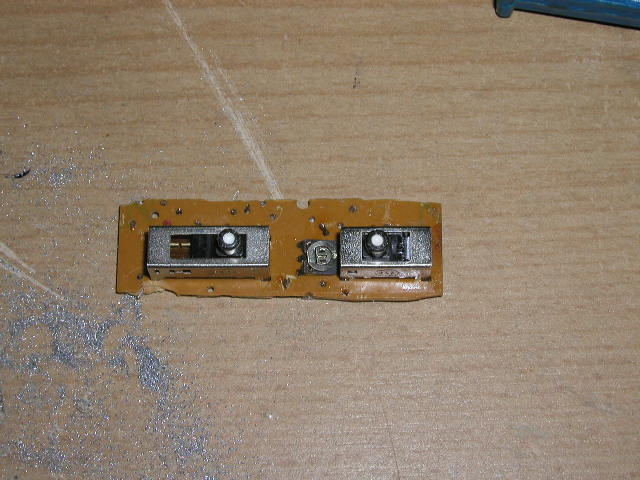
We are interested in the 2 switches on the circuit board. Right now here are the parts of interest we have.
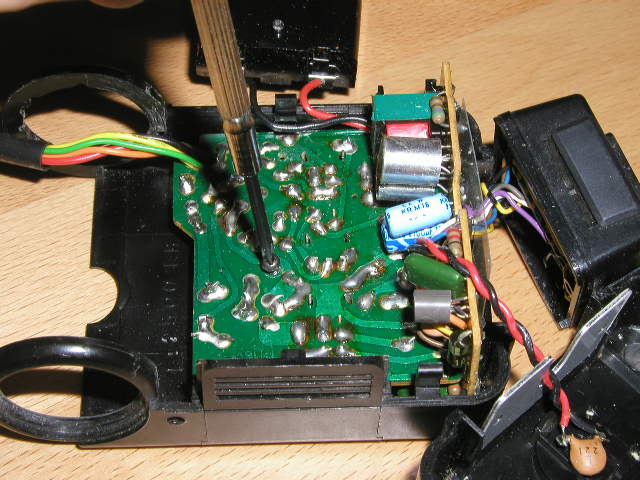
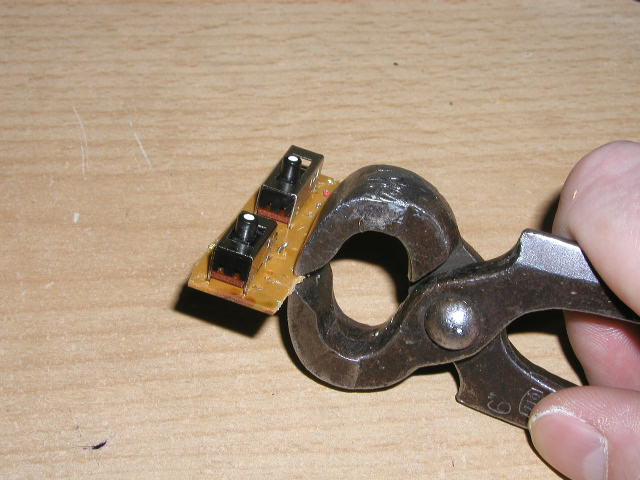
Now go back to the first circuit board and dremel away the board around the 2 switches we want.
Cut the board down
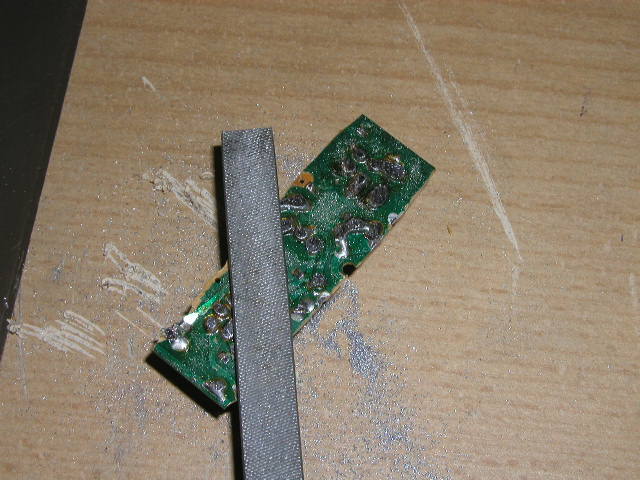
File the back of the board down flush
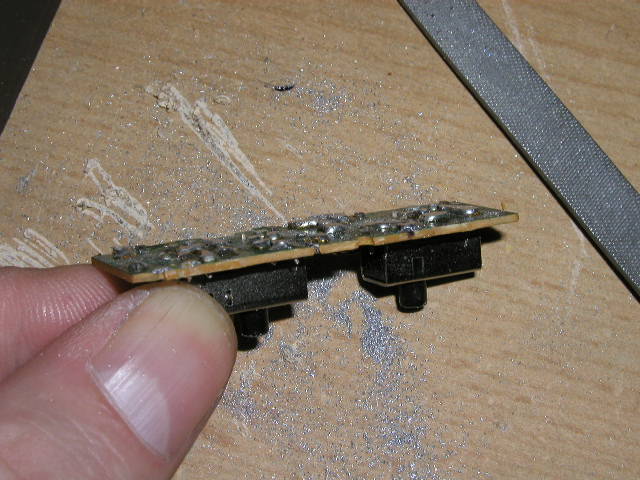
Done
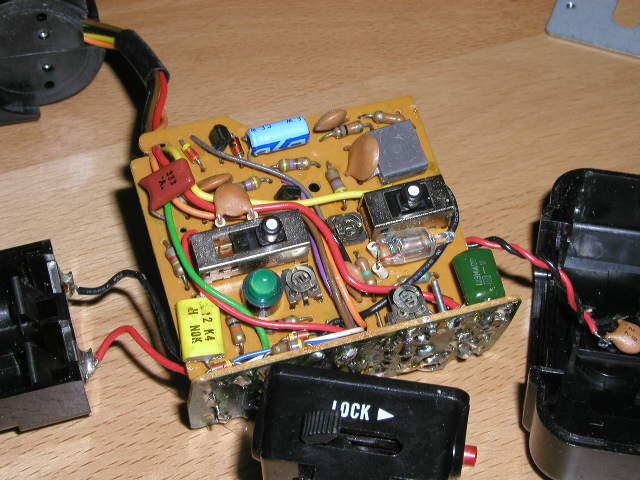
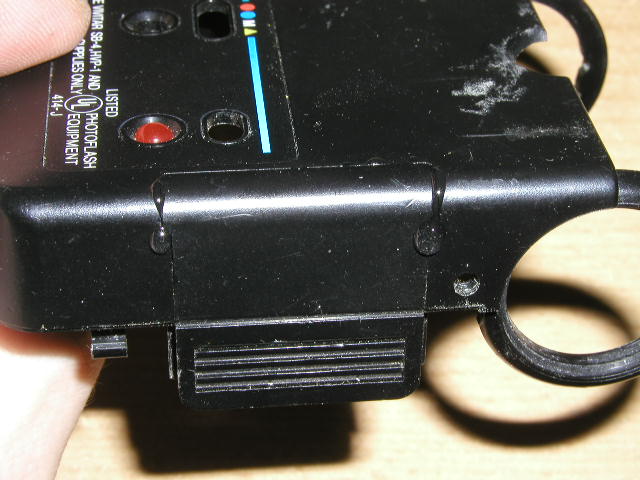
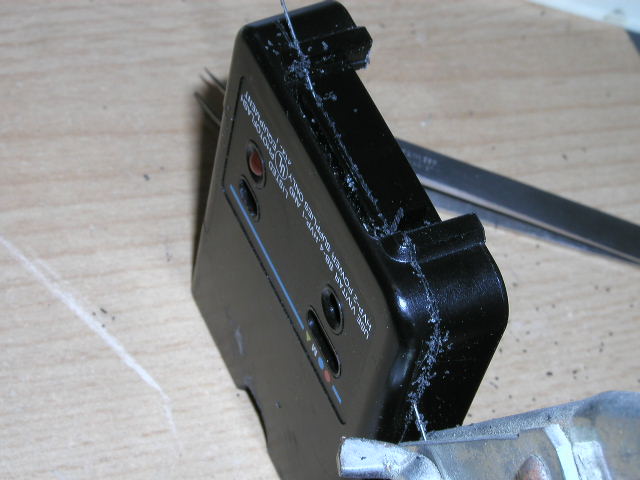
Take the other half of the flash unit and remove the screws holding it together
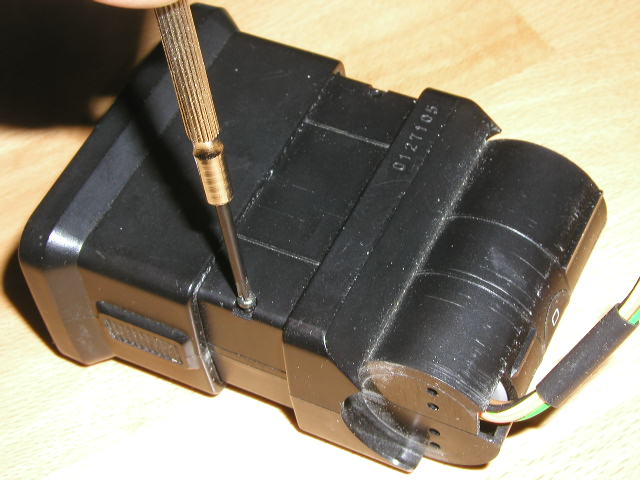
Now grab both sides, push in and pull the pieces apart
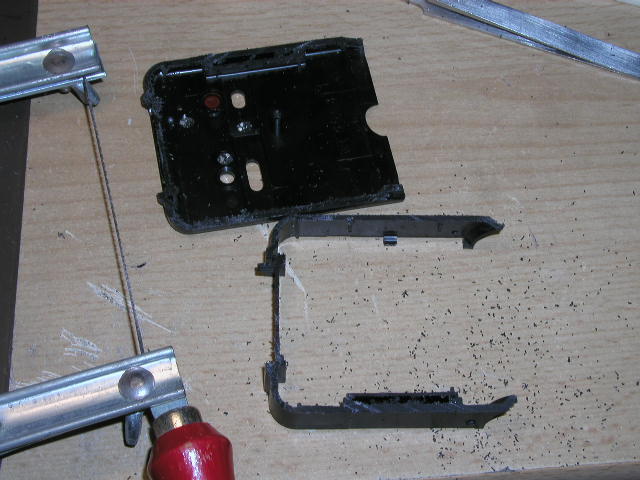
Remove the guts from the 2 pieces
Here are the parts we have collected so far
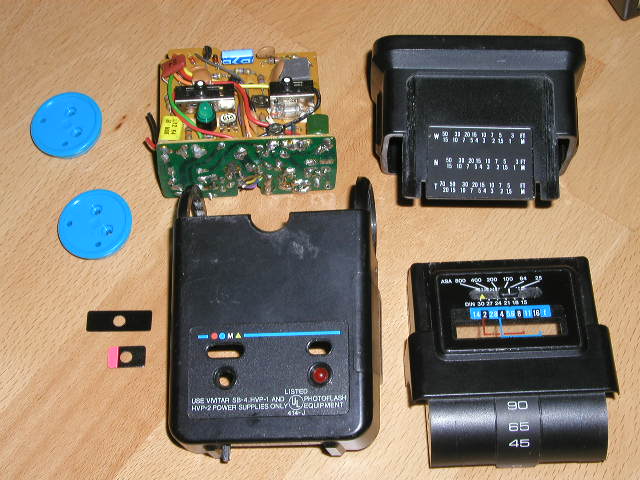
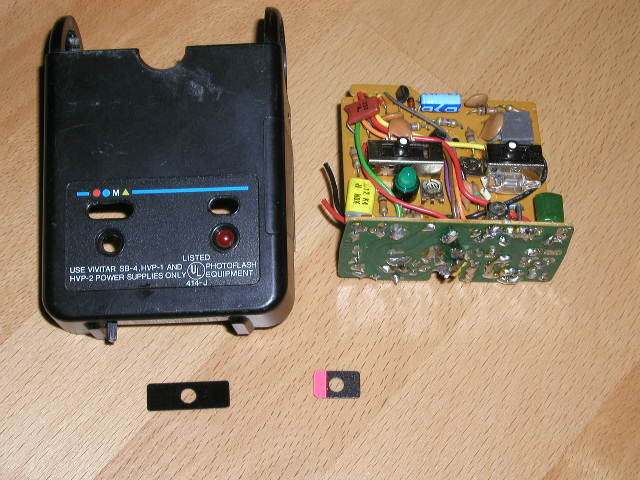
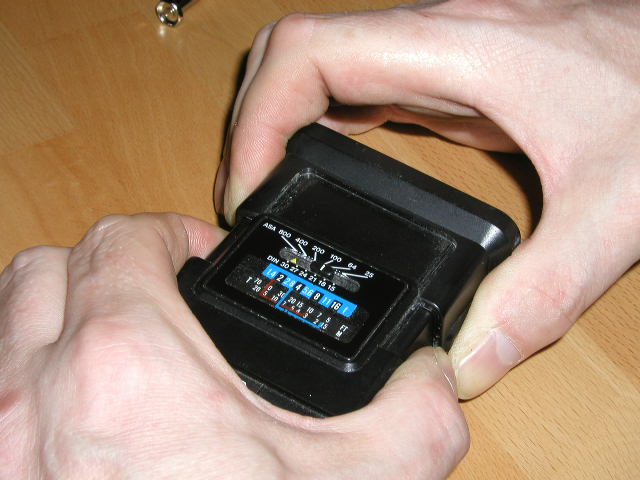
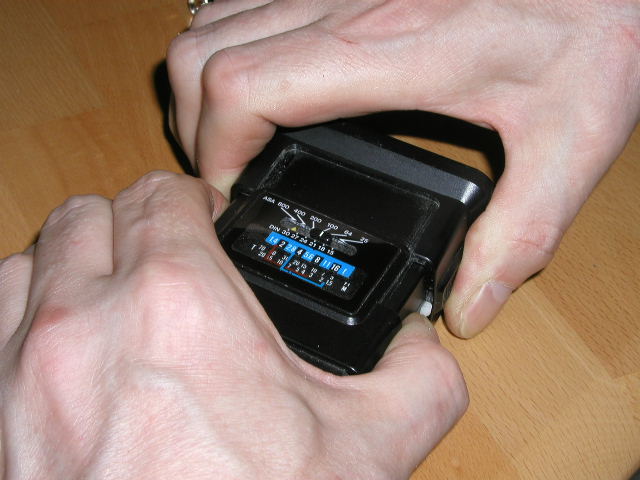
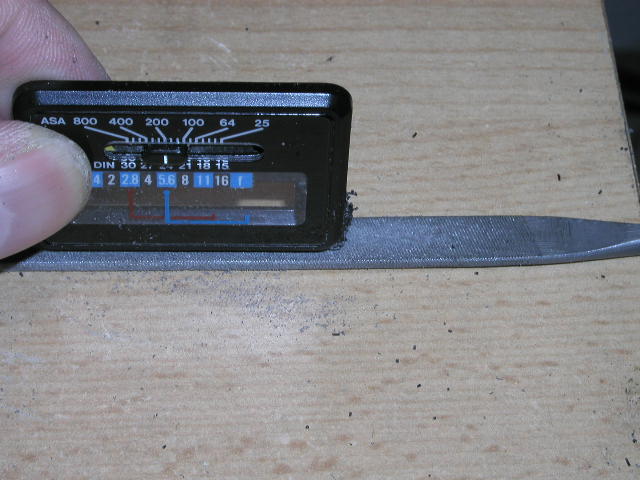
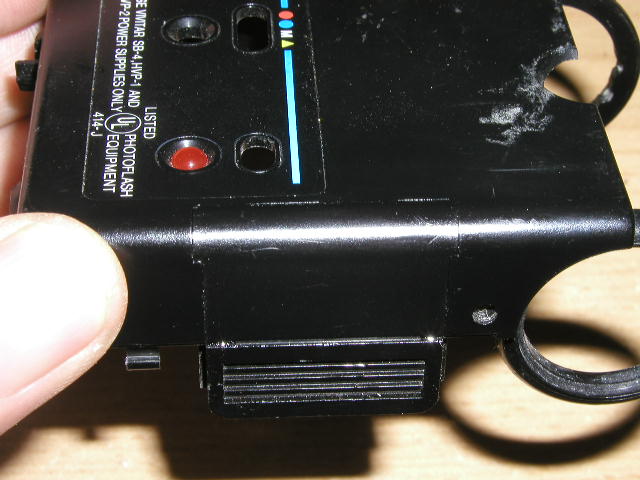
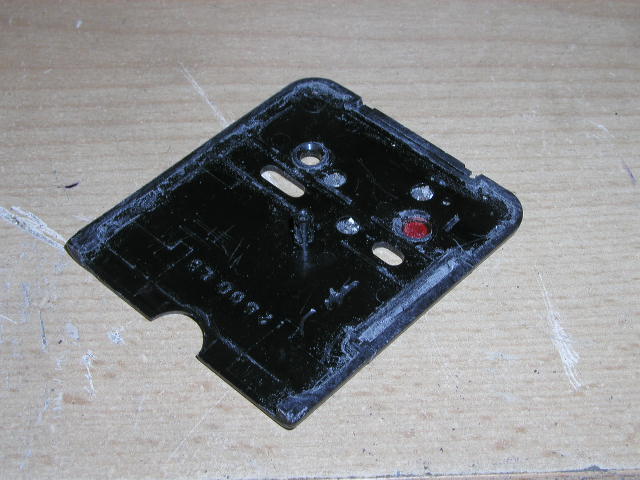
Take the piece with the meter on it. We are interested in removing the meter

Dremel the lower side to remove the meter
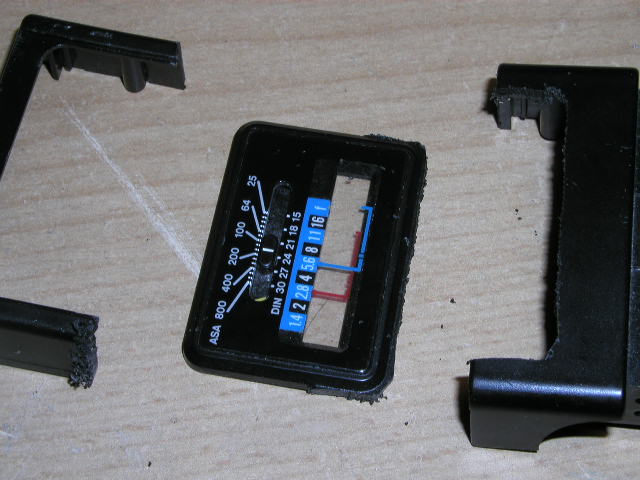
File it down flush
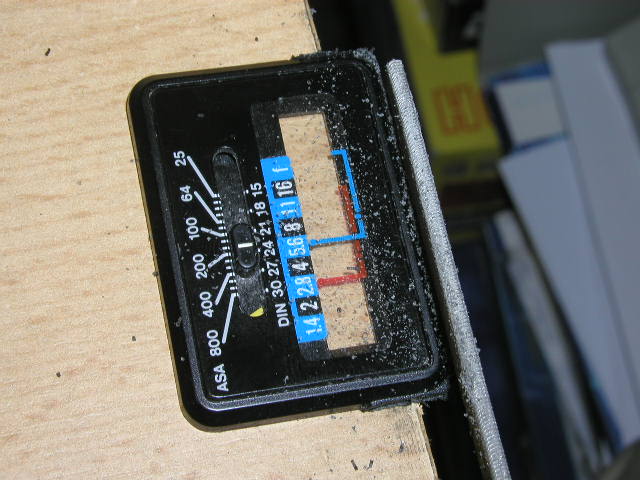

Now take the other piece and remove the sticker with the meter markings. Keep this sticker.
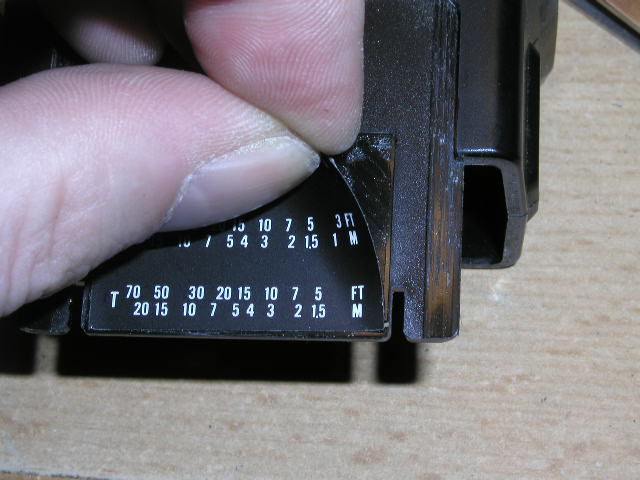
Now take the plastic cover with the LED and switch holes. Insert the loose battery cover into its slots.
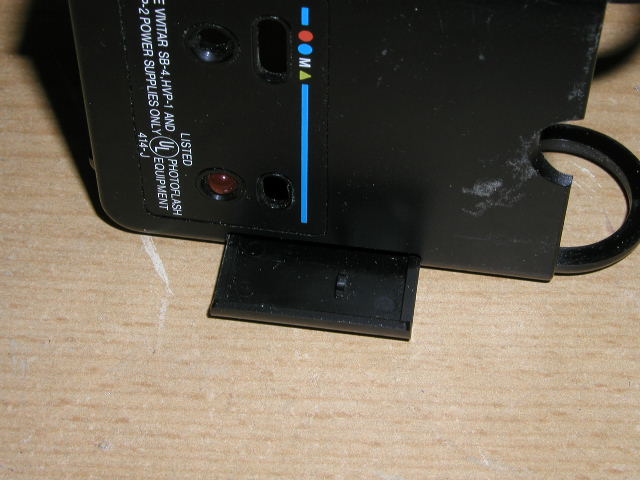
Glue this plastic piece into place
One it is dry, cut the overlapping plastic from the battery cover. Also cut off the hinge rings with a dremel.

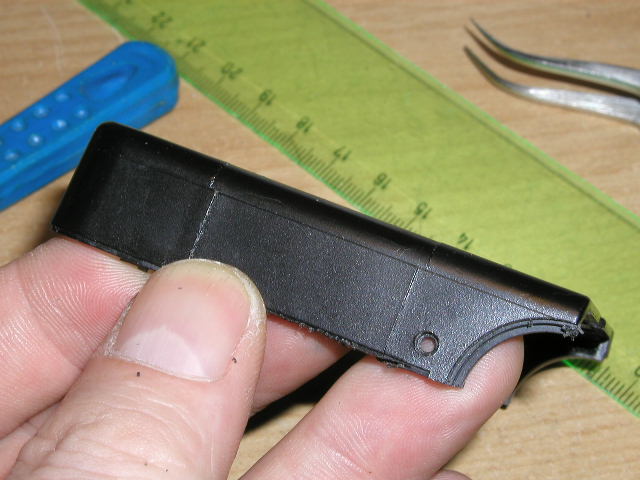
Now using a hacksaw (or dremel), carefully cut away the top portion of this plastic piece. We are interested in the LEDs and switch plates.
Here is the finished cut
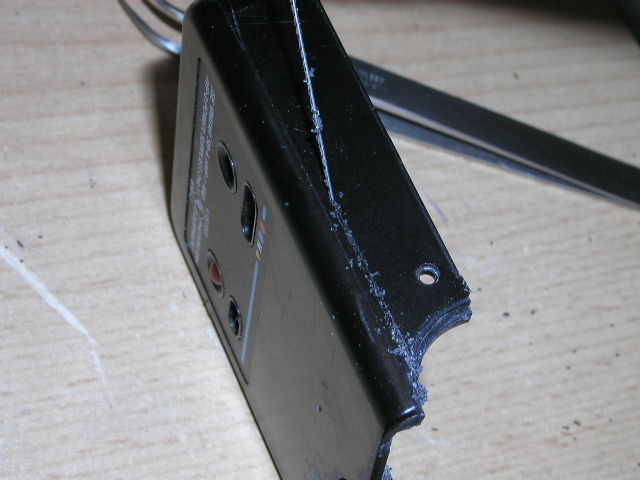
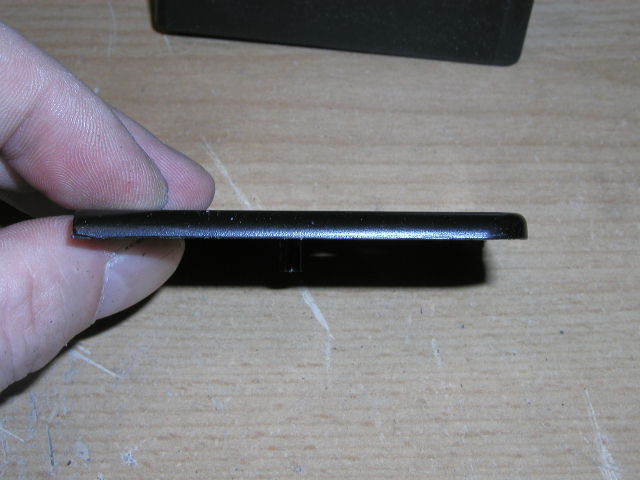
File down the top piece so it there is little curve left. This will attach to the Hama viewer later.
Side view of the finished modification
Also be sure to remove the green LED from the first circuit board, as we need this for the switch plate too.
Keep the screws from the flash unit as they come in handy later.
Here are the final parts of the Vivitar flash that we need for the MT accent pieces.
Pictures © 2004 Stephan Dörger
Do not use without proper permission
Assembly guide created by S. Dörger and J. Shima
Aliens is a trademark of 20th Century Fox