
Guide hosted courtesy of Hyperdyne Labs
Here are quick links to each section (in order of assembly):
Section A) - Cutting the extension
Section B) - Routing out the screen area
Section C) - Creating and installing the washer
Section D) - Mounting the Hama viewer hardware
Section E) - Installing the rotary switch
Section F) - Gutting the Vivitar flash unit
Section G) - Finishing the bottom side of the Hama viewer
Section H) - Mounting the top side of the Hama viewer
Section I) - Mounting the self timer
Section J) - Mounting the Jobo mini light
Section K) - Mounting the Hama remote release
Section L) - Mounting the self timer box
Section M) - Installing the sling swivels
Section O) - Mounting the transformer
Section P) - Mounting side panels
Section Q) - Installing pump widget
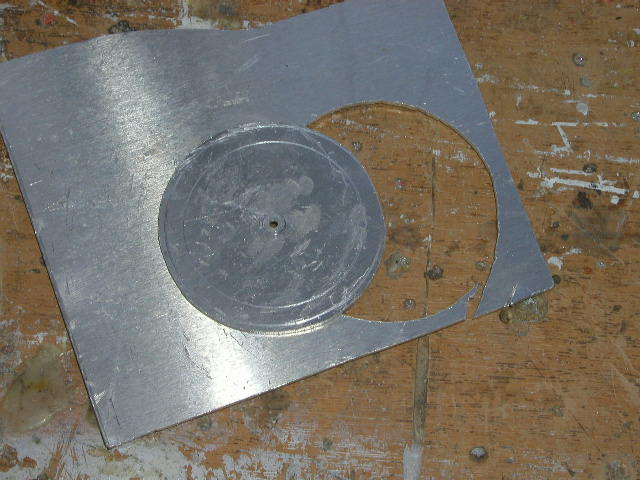
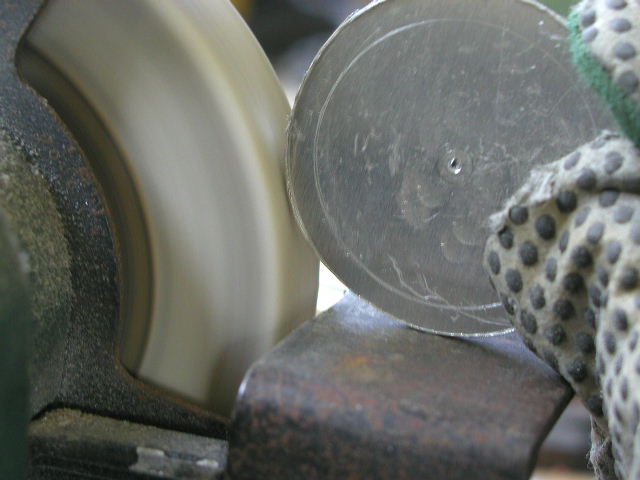
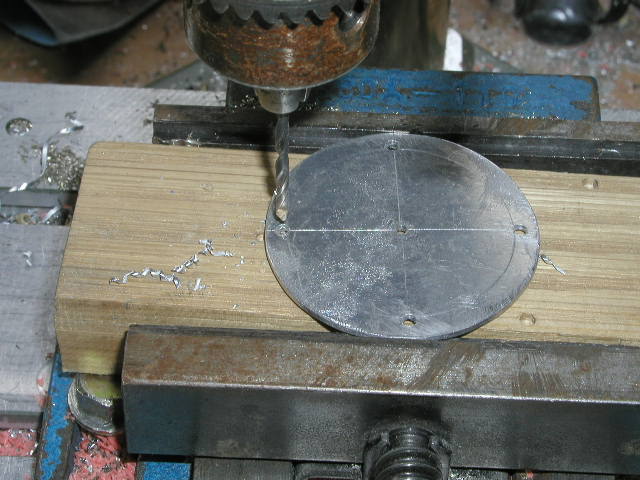
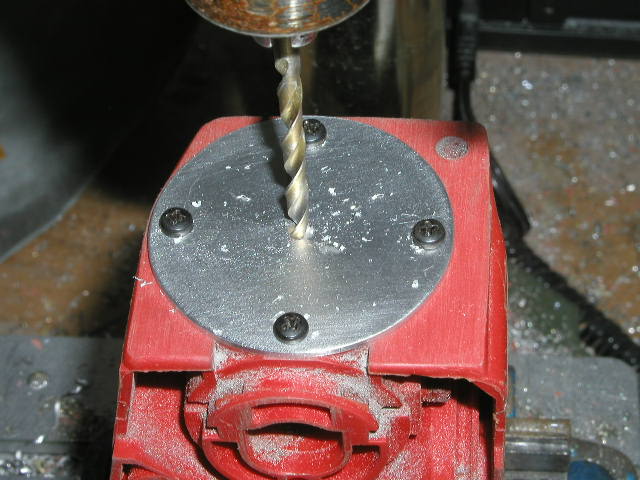
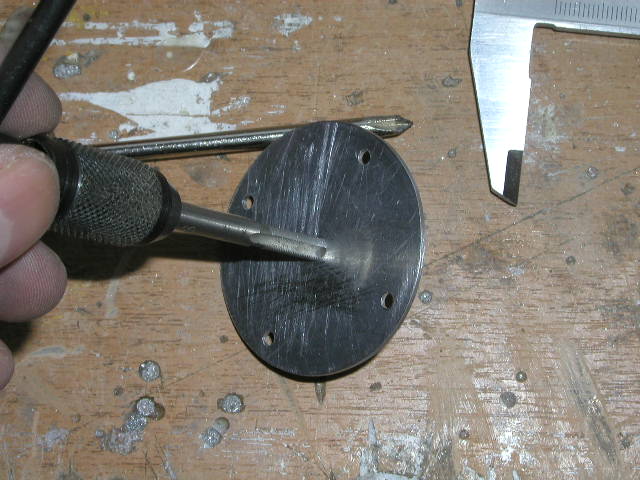
Next is the washer. You can use an acrylic piece or make your own washer out of metal sheet. The washer is the same diameter as the outer edge of the extension tube you cut in section A). Cut the metal sheet, grind it down, and drill 4 holes at 0, 90, 180, and 270 degrees.
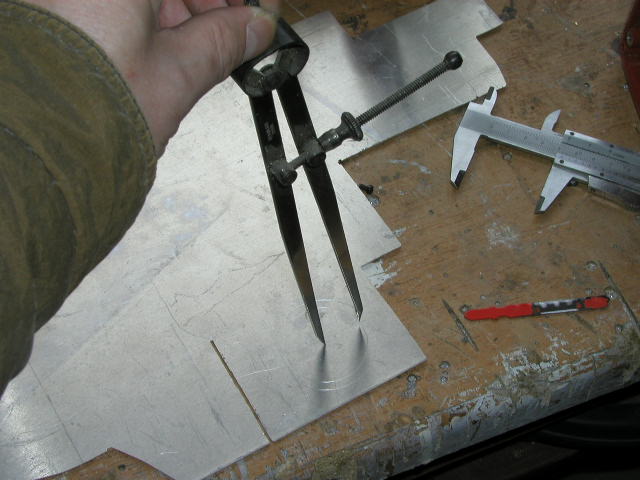
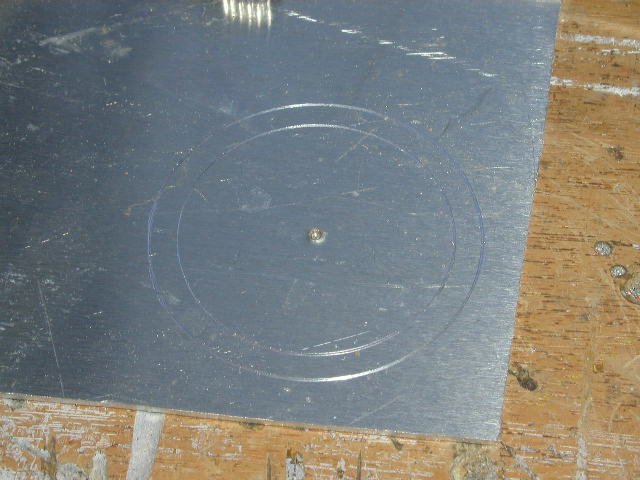
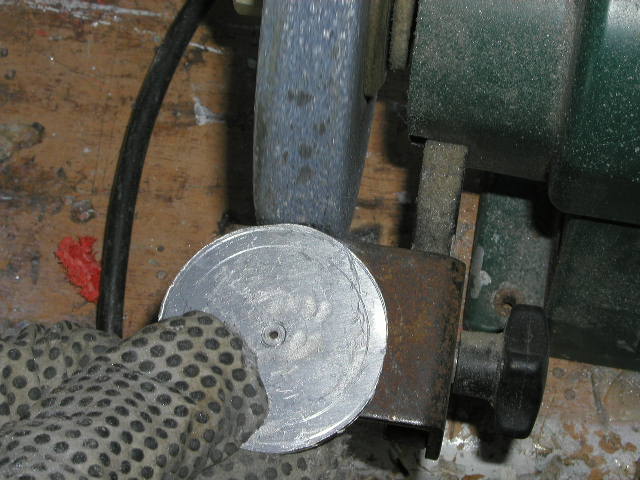

The holes are drilled along 2 perpendicular lines. Use a drill bit that will fit 4-40 screws..
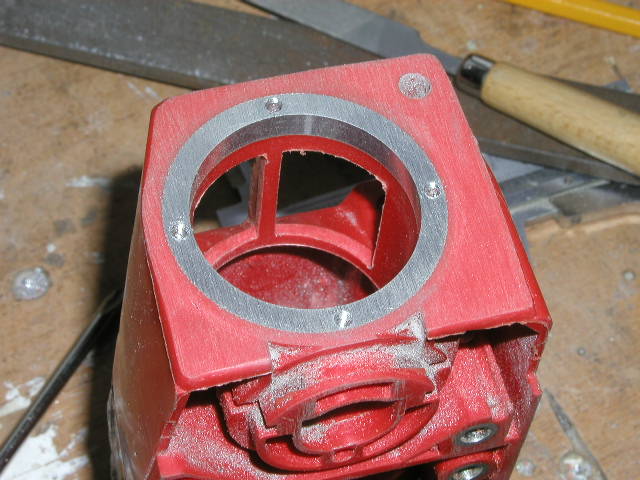
Next line the holes up on the Kango as shown below. Drill small pilot holes into the metal ring in the Kango. Tap the holes to accept 4-40 screws.
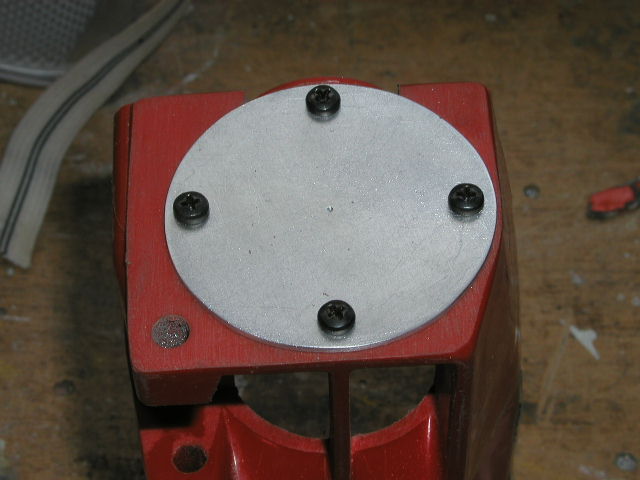
Drill the center of the washer and fit an 8-32 or a 10-24 screw. This will attach to the bottom tubing later on.

Pictures © 2004 Stephan Dörger
Do not use without proper permission
Assembly guide created by S. Dörger and J. Shima
Aliens is a trademark of 20th Century Fox