
Guide hosted courtesy of Hyperdyne Labs
Here are quick links to each section (in order of assembly):
Section A) - Cutting the extension
Section B) - Routing out the screen area
Section C) - Creating and installing the washer
Section D) - Mounting the Hama viewer hardware
Section E) - Installing the rotary switch
Section F) - Gutting the Vivitar flash unit
Section G) - Finishing the bottom side of the Hama viewer
Section H) - Mounting the top side of the Hama viewer
Section I) - Mounting the self timer
Section J) - Mounting the Jobo mini light
Section K) - Mounting the Hama remote release
Section L) - Mounting the self timer box
Section M) - Installing the sling swivels
Section O) - Mounting the transformer
Section P) - Mounting side panels
Section Q) - Installing pump widget
This section covers all the smaller pieces and greeblies you need for the aesthetics of the tracker.
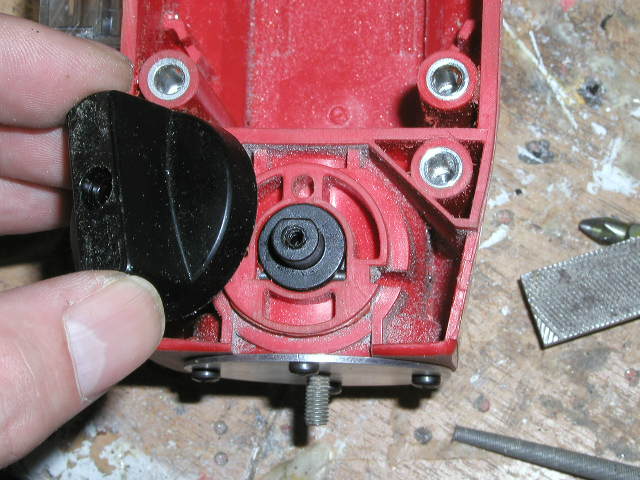
First you can install the knob on the bottom. You can either glue the knob on or cut the shaft it was attached with.
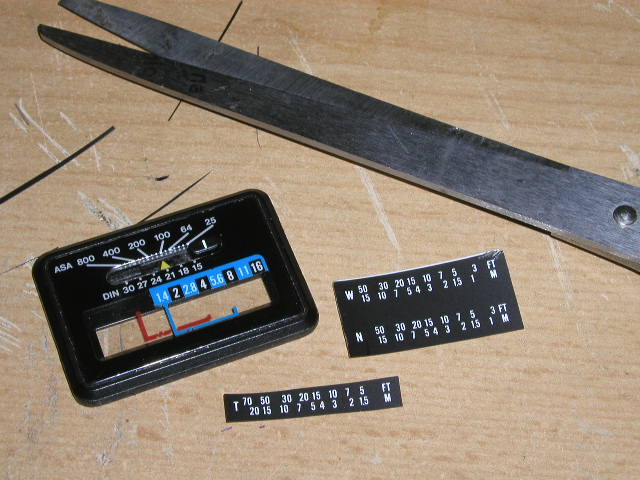
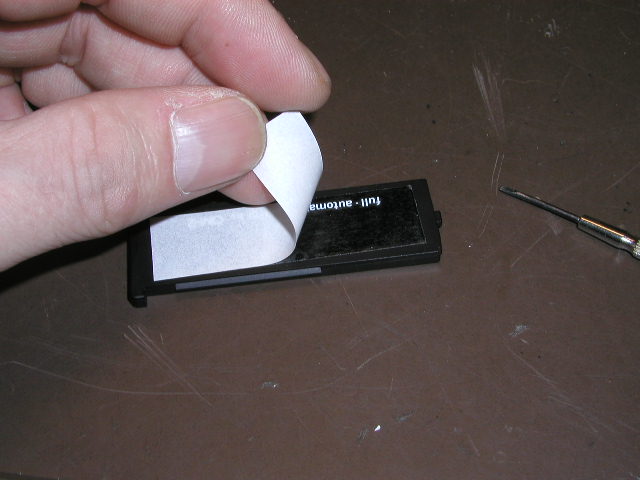
Next is the installation of the small meter. Take the meter and the scale and cut a piece off (any scale).
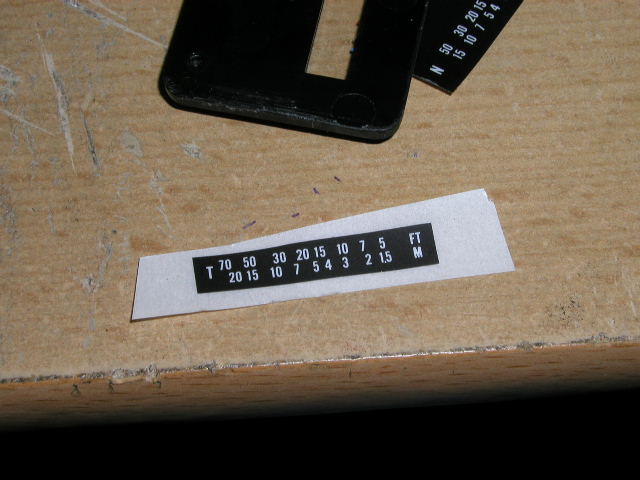
Now attach the small meter to the Hama viewer.
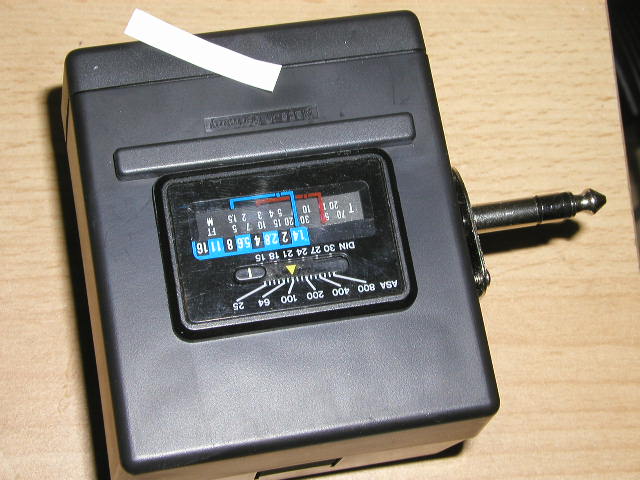
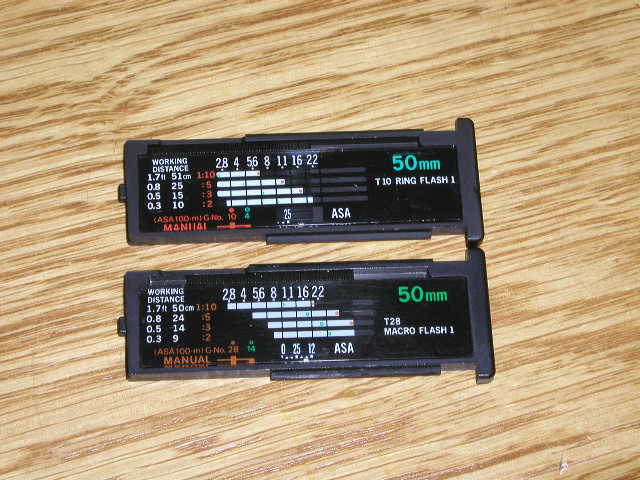
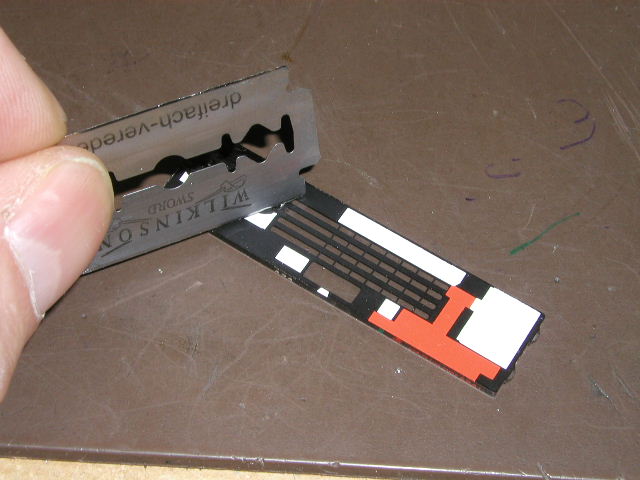
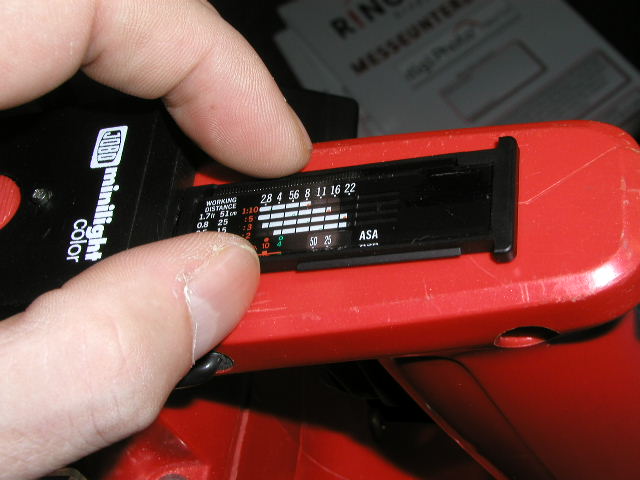
Next is the long meter. The proper meter is the Olympus T10 or T28 calculator panel. The T28 meter can be gotten from ebay or online at different stores. Search for "T28 calculator panel". The T10 meter is somewhat more difficult to obtain.
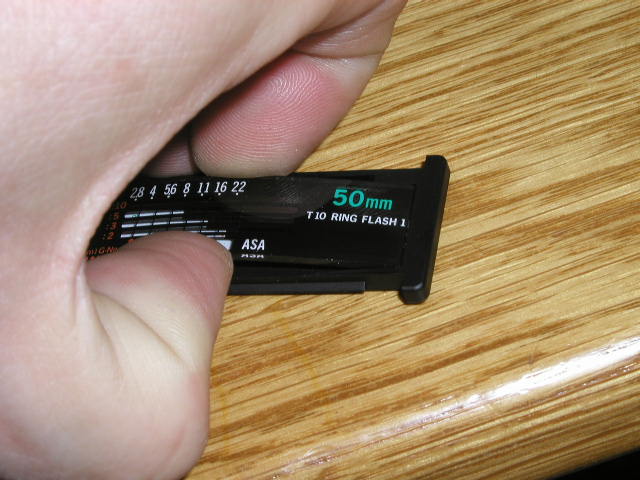
Remove the plexi cover
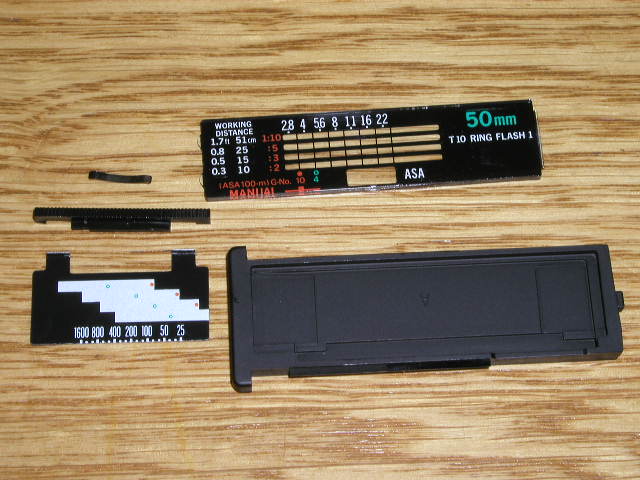
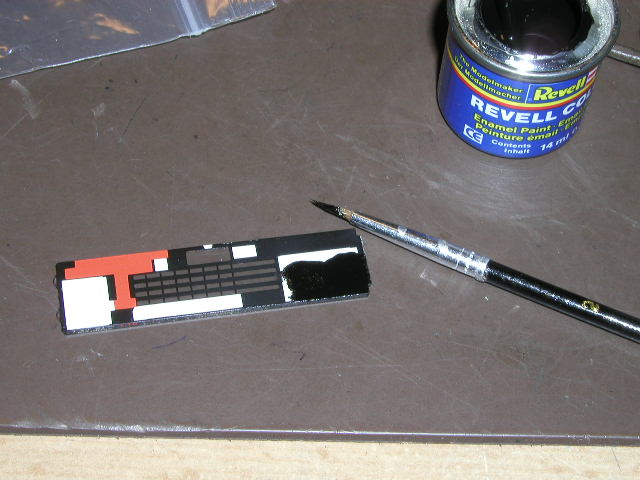
Now you will black out the text on the right side of the meter. Scrap off the white backing.
Paint over the lettering
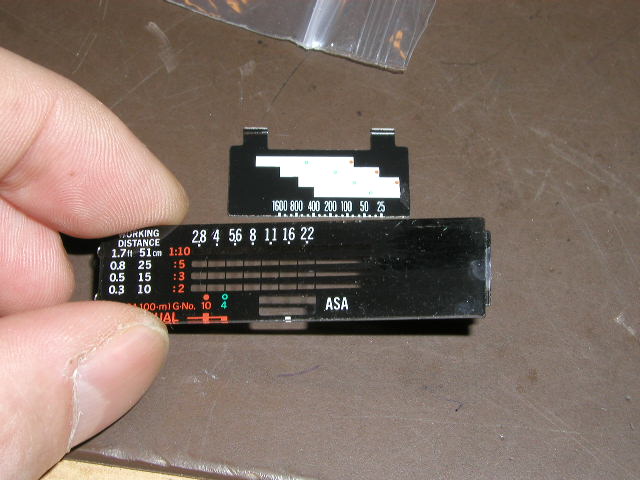
Now reassemble it
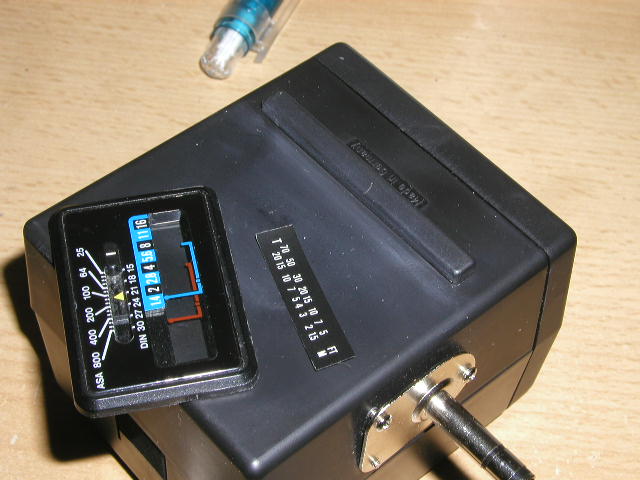
Now attach the long meter to the front of the tracker above the jobo minilight.
The last part is the accent tubing. You will need some standard automotive tubing, small diameter tubing, and some A/V coax cable. The automotive tubing is available at any auto parts store. If you are unable to find the small diameter tubing in your area, you can also use heat shrink tubing available from Radio Shack. Model #: 278-1627.
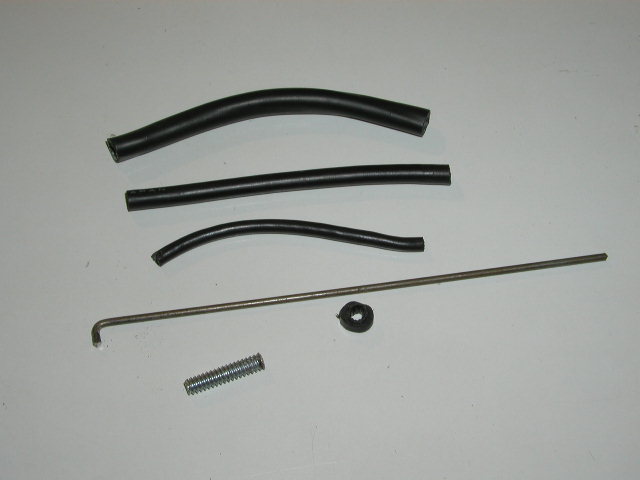
Cut the tubing and put one end on the screw that was mounted on the washer.
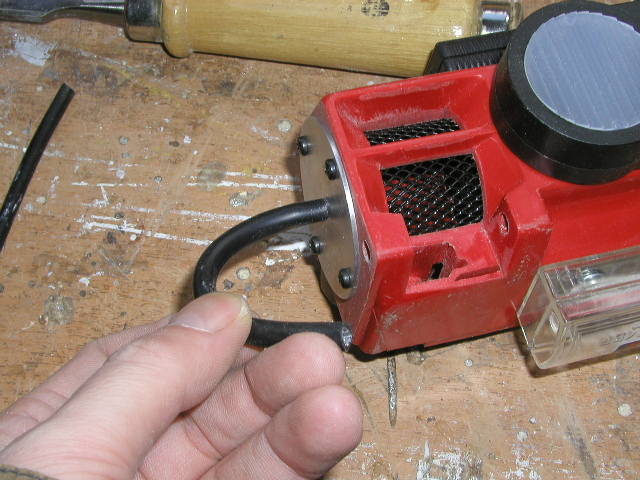
Take a second screw end and glue it to the end of the other hole. Insert the automotive tubing.
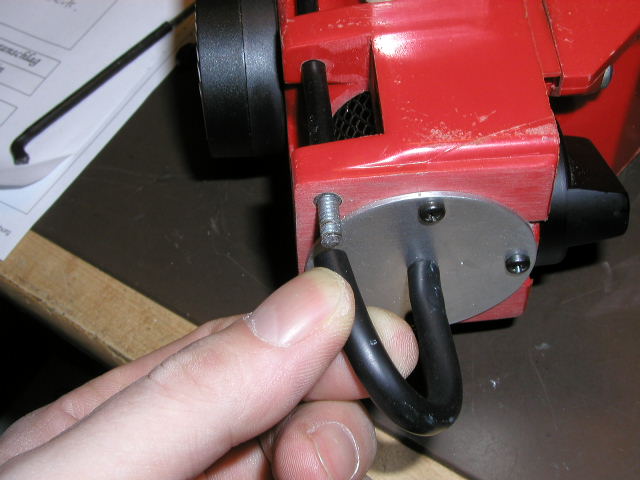
Next take some smaller diameter tubing (or heat shrink tubing) and insert it through the predrilled hole. Cut to length.
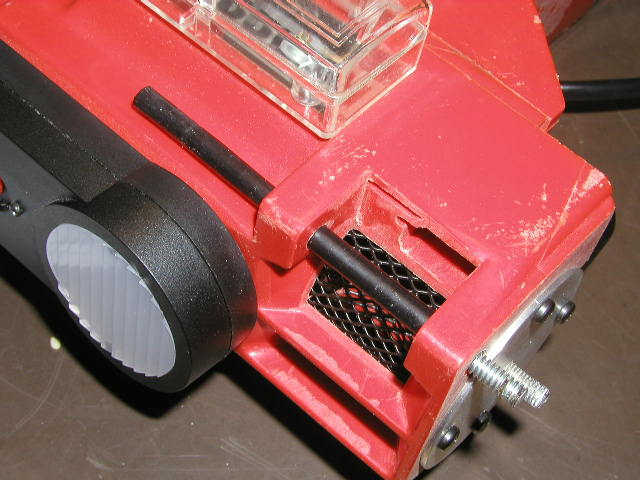
Insert a small metal rod down the tubing to hold it in place.
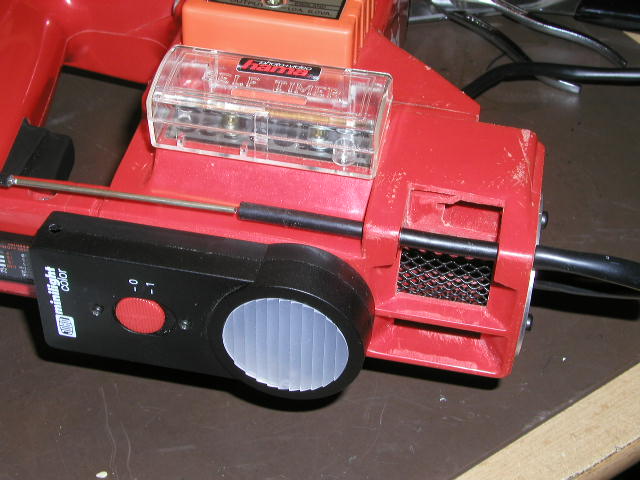
Now run the extra small tubing up into the predrilled hole in the tracker handle. Here you can also use the smaller diameter heat shrink tubing from Radio Shack. Also use a small rubber grommet in the handle hole. You can also buy a pack of rubber grommets from Radio Shack.

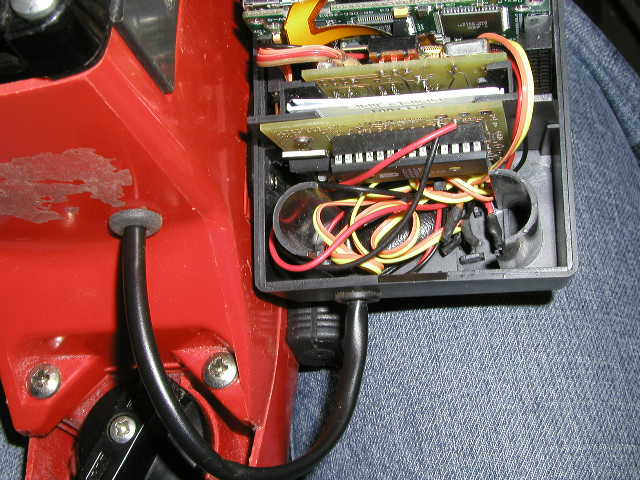
The coax A/V cable runs from the Hama viewer to the tracker case. You can use standard coax 2-conductor (standard cable TV wire) and some rubber grommets to secure it. If you are installing electronics in your tracker, you can also use this cable to send power and ground to the casing. Or it could act as speaker connections in the drill case for example.
Keypad graphic. The keypad was a simple graphic that attached to the transformer casing. Here is a publically available graphic file that you can print out and cut to size.

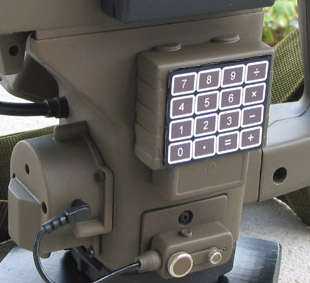
Print the file at 600dpi for the correct size. You can easily do this in photoshop or a similar graphics program. Consider printing it out on a vinyl stock or even matte photo paper.
Pictures © 2004 Stephan Dörger
Do not use without proper permission
Assembly guide created by S. Dörger and J. Shima
Aliens is a trademark of 20th Century Fox