
Guide hosted courtesy of Hyperdyne Labs
Here are quick links to each section (in order of assembly):
Section A) - Cutting the extension
Section B) - Routing out the screen area
Section C) - Creating and installing the washer
Section D) - Mounting the Hama viewer hardware
Section E) - Installing the rotary switch
Section F) - Gutting the Vivitar flash unit
Section G) - Finishing the bottom side of the Hama viewer
Section H) - Mounting the top side of the Hama viewer
Section I) - Mounting the self timer
Section J) - Mounting the Jobo mini light
Section K) - Mounting the Hama remote release
Section L) - Mounting the self timer box
Section M) - Installing the sling swivels
Section O) - Mounting the transformer
Section P) - Mounting side panels
Section Q) - Installing pump widget
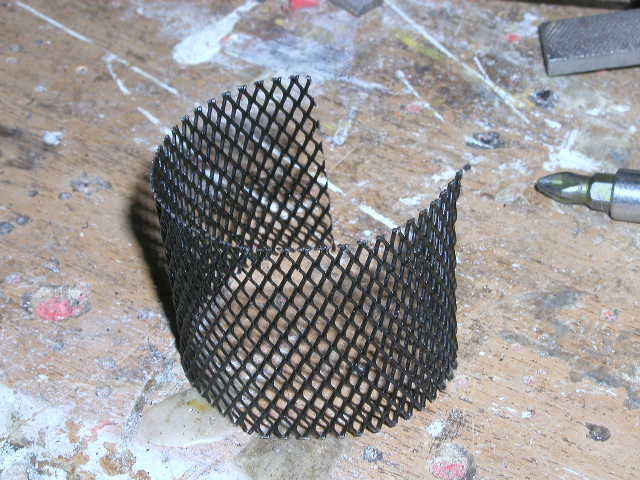
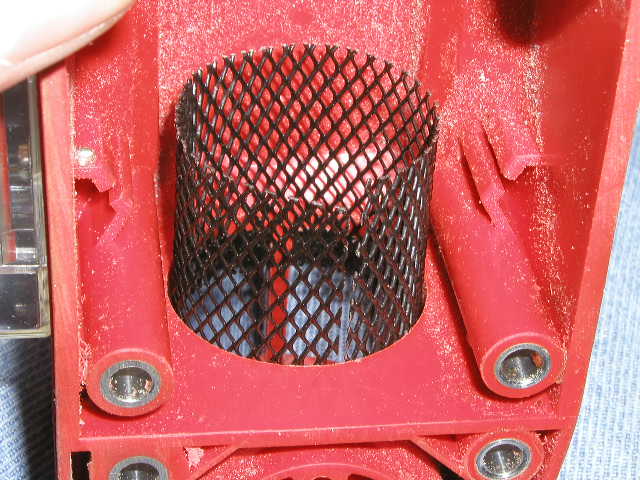
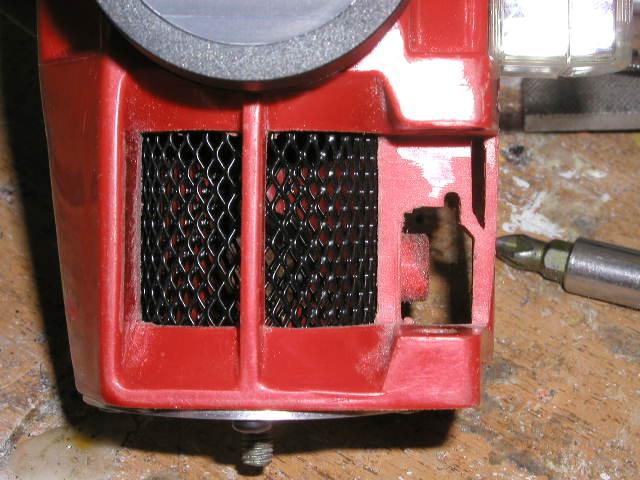
The screen mesh goes behind the routed out windows done in Section B). This diamond pattern mesh is commonly used in auto body repair. You may want to check a UK source or visit your local body shop to see if they have any. Paint the mesh black. A good paint is the high heat barbeque spray paint.
Simply roll the mesh with a 1" roller and place it inside the window fitting.

Pictures © 2004 Stephan Dörger
Do not use without proper permission
Assembly guide created by S. Dörger and J. Shima
Aliens is a trademark of 20th Century Fox