
Guide hosted courtesy of Hyperdyne Labs
Here are quick links to each section (in order of assembly):
Section A) - Cutting the extension
Section B) - Routing out the screen area
Section C) - Creating and installing the washer
Section D) - Mounting the Hama viewer hardware
Section E) - Installing the rotary switch
Section F) - Gutting the Vivitar flash unit
Section G) - Finishing the bottom side of the Hama viewer
Section H) - Mounting the top side of the Hama viewer
Section I) - Mounting the self timer
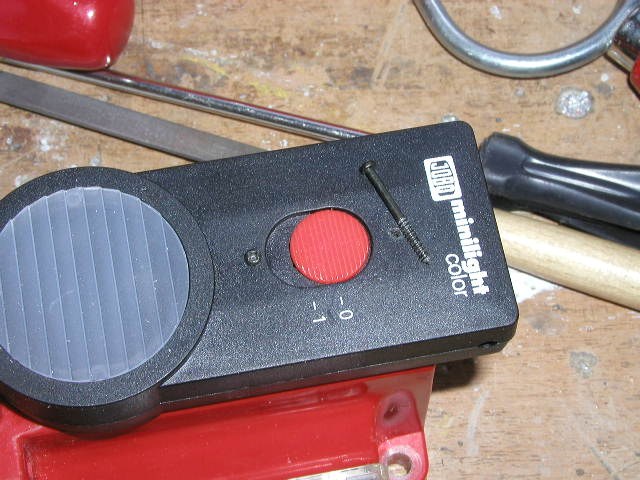
Section J) - Mounting the Jobo mini light
Section K) - Mounting the Hama remote release
Section L) - Mounting the self timer box
Section M) - Installing the sling swivels
Section O) - Mounting the transformer
Section P) - Mounting side panels
Section Q) - Installing pump widget
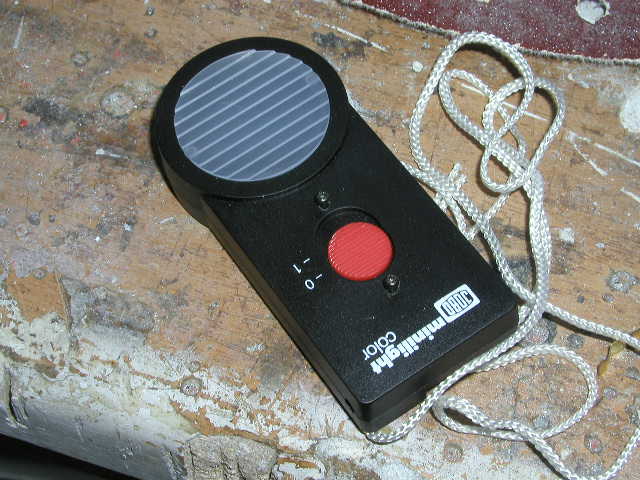
Here is the Jobo light that will go on the front of the drill case
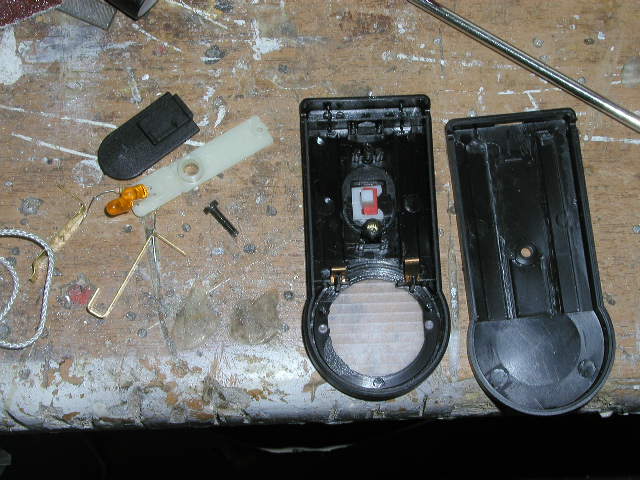
Unscrew the back of the minilight and gut the inside
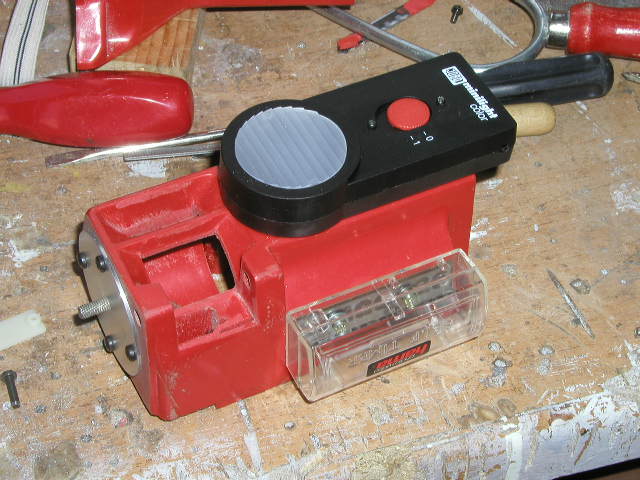
Now take the drill case where you cut the holes for the mesh. The Jobo will mount right about these holes.
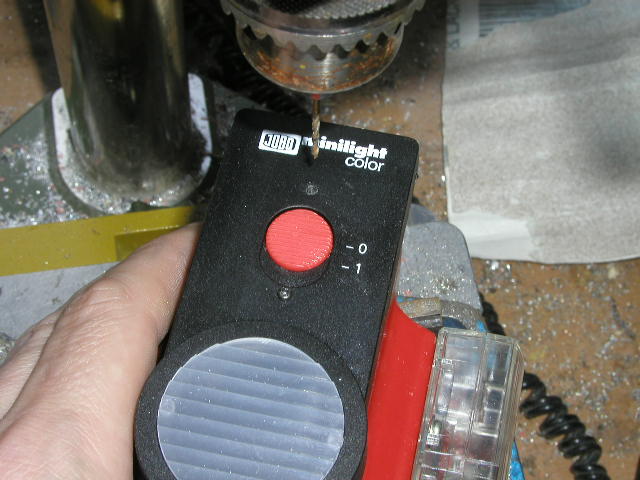
If you saved the long screws from the Vivitar flash section, these are perfect for mounting the Jobo unit. Drill 2 holes in the Jobo all the way through the drill case with a small bit. The second screw will come close to the plastic handle mount, so double check this.
Screw the unit down. If you have problems with threading, you can move up to 4-40 screws and tap the drill case to thread the screws for a better fit.
Pictures © 2004 Stephan Dörger
Do not use without proper permission
Assembly guide created by S. Dörger and J. Shima
Aliens is a trademark of 20th Century Fox